Important: The throttle shaft screws are JIS Cross Recessed they are NOT phillips screws. There are no phillips screws on a japanese motorcycle. You must use a JIS (Japanese Industrial Standard) screwdriver.
A more complete guide can be viewed here
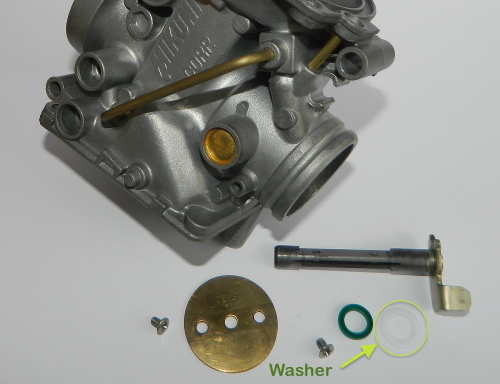 Parts to be used for carburettor 4. |
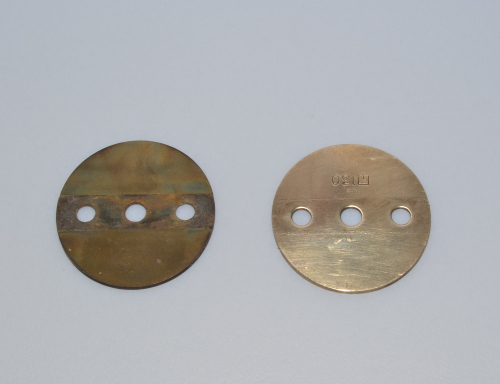 Some steel wool can be used to clean up the butterfly. |
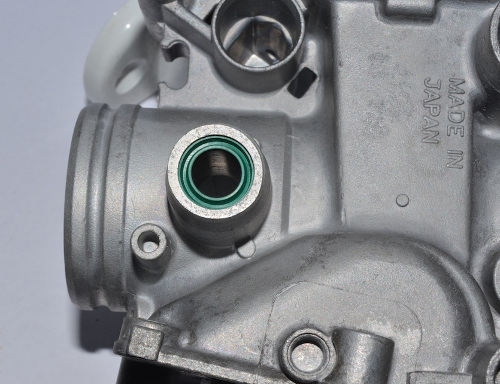 Note that the seal is fitted, what appears to be, backwards. This is because the low pressure area is the interior of the carburettor. |
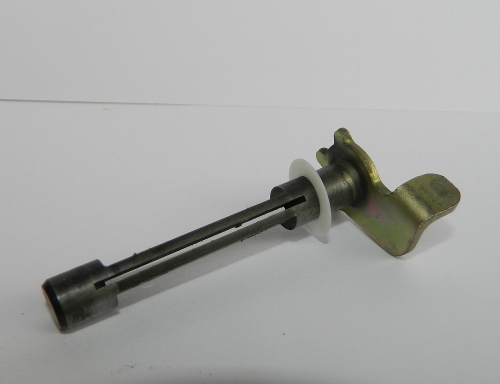 Screws and throttle shafts will need to be washed in solvent to remove any traces of oil and dirt before using thread locker. Fit the thin plastic washer onto the throttle shaft and gently slide into the housing. |
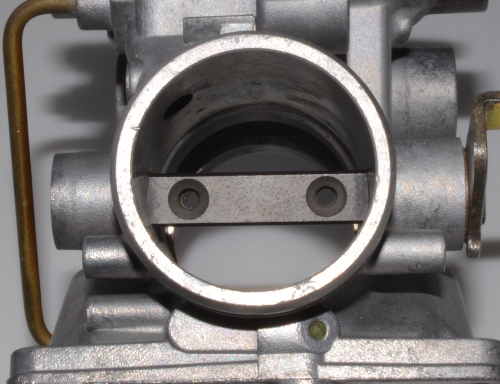 This is the correct positioning of the throttle shaft in the closed position. The actuating tab faces forwards, as does the countersunk portion of the throttle shaft screw holes. |
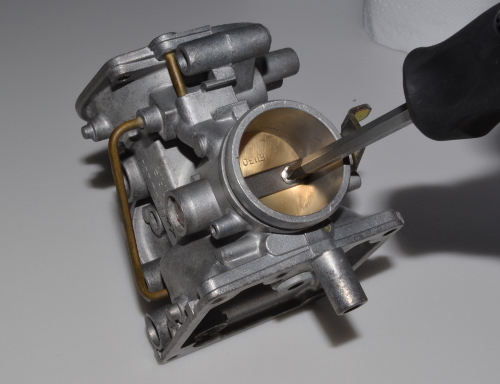 Gently fit the throttle butterfly into the throttle shaft. Important:Fit the screws loosely and keep moving the butterfly until it makes a good seal with the throttle closed. Hold the carburettor throat up to a strong light to check that a good seal is made. When you are satisfied with the position of the butterfly tighten the two screws, not fully, and check again. |
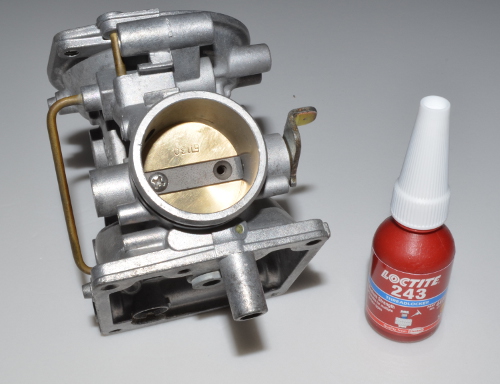 Remove one of the screws so that you can apply threadlocker to the thread. Note that these screws are stainless steel so consult the appropriate technical documentation to determine if you need to use a primer. Also take steps to ensure that the threadlocker has not spoiled. Most of these products have a limited shelf life and should be stored in a cool location. |
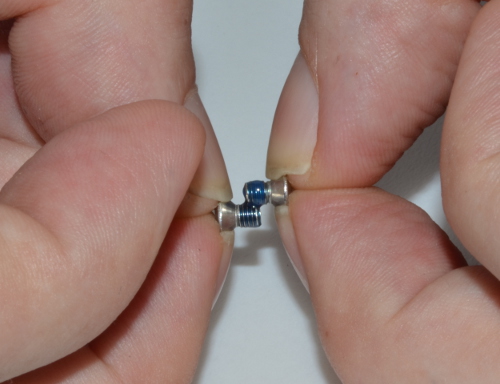 It is important to only apply the threadlocker to the thread and ensure that you do not spread over the countershaft part of the screw. I usually use another screw to roll the threadlocker around the thread ( fortunately all LiteTek kits come with spare screws). Any excess can be wiped off with a cotton tip. |
 Fit the screw, tighten firmly and repeat the process with the other screw. |
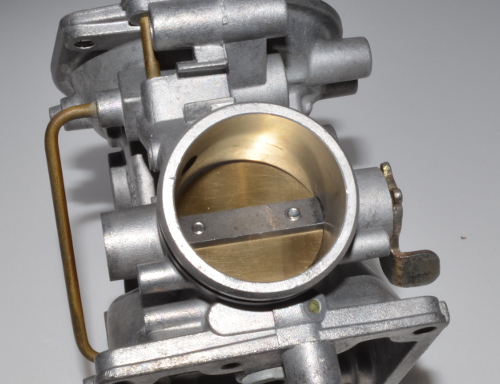 Check that your throttle butterfly rotates freely. If you wish to stake the back of the screws you will need to support the head of the screw on a solid rod and use an appropriate tool. These screws are stainless steel and are significantly harder than the original part. |