R4 Project>
Instrument Cluster
Guide
The R4 uses an instrument cluster that is sourced from the 1999 - 2002 R6. With the exception of the white face, these are very close in appearance to the R7 unit that the R4 is modelled after.
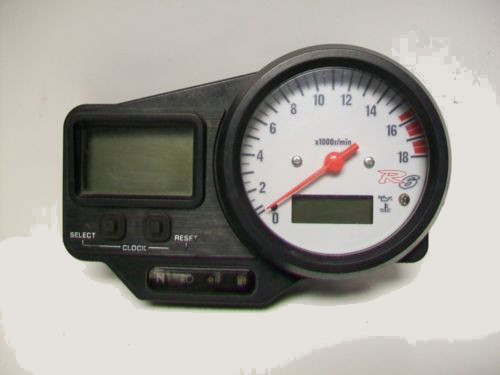 There are two versions of this instrument cluster. This type was used as the basis for our project bike.
|
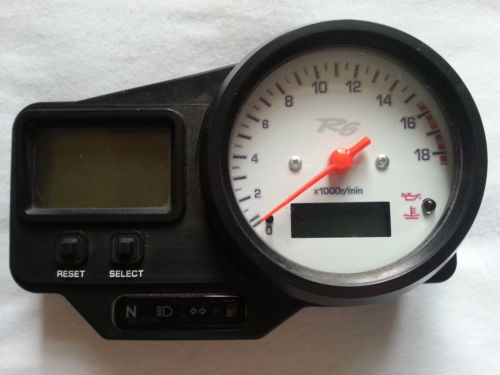 This one has a slightly different appearance, but to the best of our knowledge, the difference is mostly cosmetic.
|
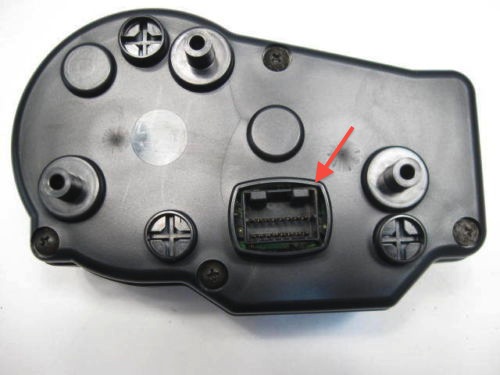 The receptacle fitted to the back of the dash is an ".040 Multilock Connector" identified by the code 174975-2. |
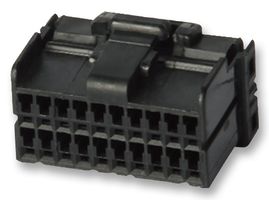 The matching receptacle, that you will need to plug into the dash, is identified by the code 174046-2.
If you purchase the gauge from a wreckers you may be able to get the electrical connector from an old wiring harness. Otherwise it is readily available from electronics supply stores like RS.
|
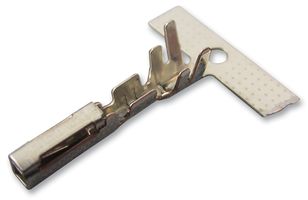 You will need 16 terminals, or contacts, to attach to your wiring harness. There are two versions of
these terminals. The first, 175180-1 is to suit wire having an insulation diameter of 1.1 - 1.6mm, and the
second, 175062-1, is for wire having an insulation diameter of 1.8 - 2.0mm.
|
|
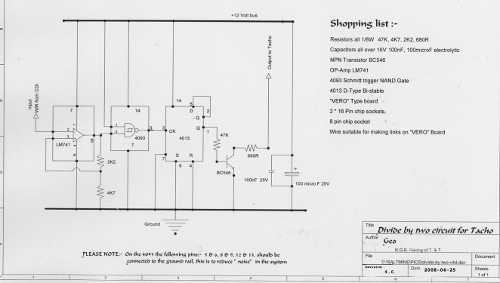 The tachometer signal reads twice as high as it should so we need to add a divide-by-two circuit, or you may be able to fit a new Ignitech ignition control unit and you will not need the divide-by-two circuit. This circuit diagram can be found at http://www.saltmine.org.uk/pics/divide-by-two-v4g.jpg A pdf version is also available here 
|
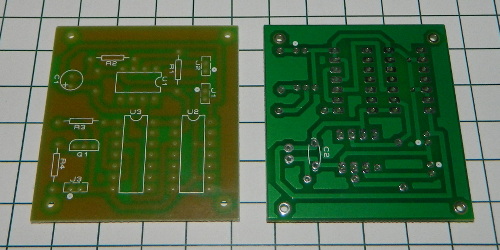
This is our Divide-by-Two PCB board. As soon as it is tested and shown to be functional it will be released for sale. If you would like to be the first to try one then get in touch and we will ship one to you at no charge. |
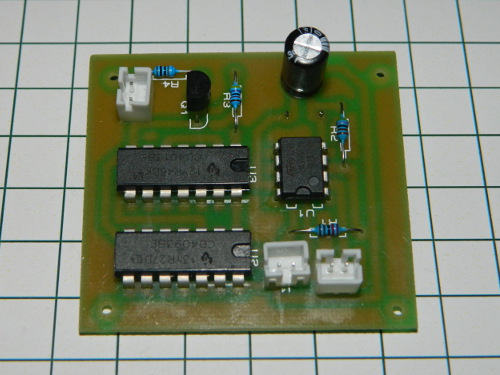 And with the components attached. The connectors are JST 2.0mm.
|
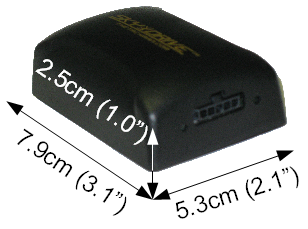 For the speedo sender we have elected to use a GPS version, the Skydrive, supplied by
Canadian Automotive Instruments
|
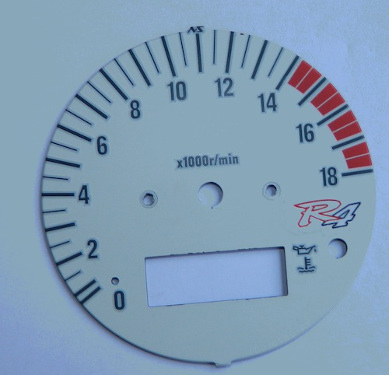 Finally the tachometer face plate is modified with the addition of a new sticker. Printed on 3M matte vinyl, this includes the new R4 logo and the coloured sections to reduce the redline to 14000 rpm. Price: 150 THB (Thai Baht) |
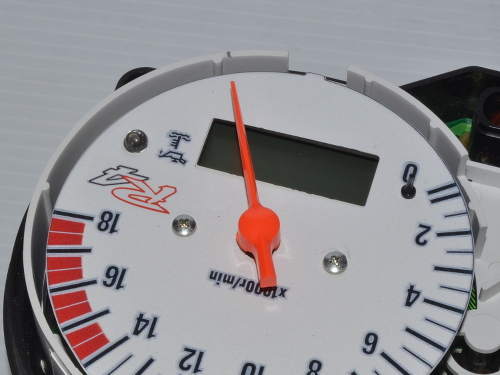 Fitting the sticker requires removing the tachometer needle which can be quite difficult. The tachometer needle has a neutral position that it will return to. You should rotate the needle past the 4 o'clock position and you will see that it settles as shown in the image. I suspect that the small protrusion on the body is there to mark this spot to enable assembly. However, my tachometer seemed to settle where I have drawn a black mark. Make your own mark as appropriate and use this when refitting the needle. |
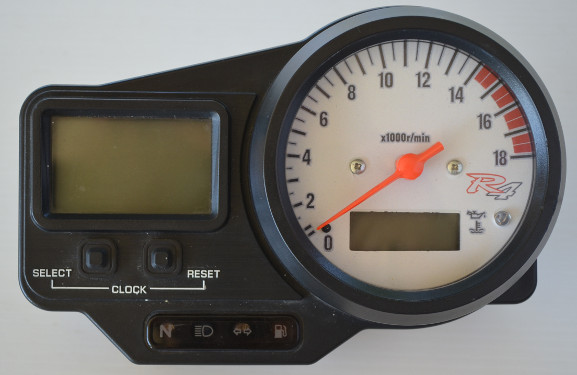 The finished article. |